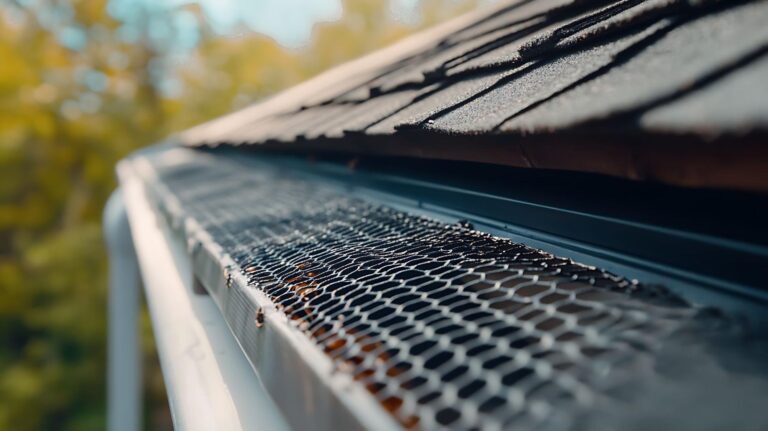
Gutter guards have become an incredibly potent tool that provides many added benefits. Be it reducing clog in the drainage, preventing animal infestation, getting rid of regular maintenance or protecting your house from fire or any danger, with this one addition to your home, you can eliminate all your worries.
They’re not simply a tool that intensifies the aesthetic but they actually serve their motive and prevent the debris from going inside the gutter to accumulate and create a blockage. They certainly have so many advantages and indeed it’s a rescue for the homeowners from the hustle with ladder and messy cleaning. And no wonder why people have been adopting this Saviour into their home.

Gutter guards have significant advantages among all, one is their DIY-friendliness. Though you’ll need to follow proper installation instructions to achieve effective results. Since there are several gutter guards options and roof type, you need to follow specific instructions according to your roofing and type of gutter guard. So before trying your hands, ensure you’ve got the right instructions.
If you’re thinking of installing a gutter guard all by yourself then you’ve landed in the perfect place. In this blog get the detailed instructions for installing gutter covers on the metal roof.
Here are the steps to follow:
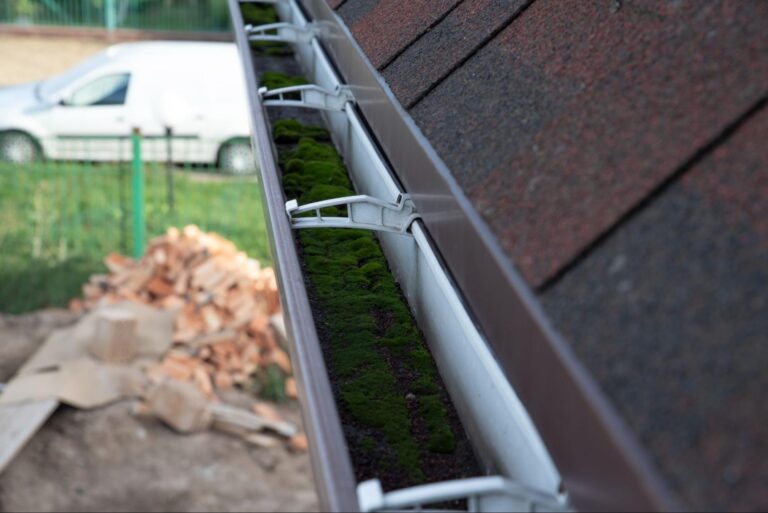
Step 1: Clean your gutter
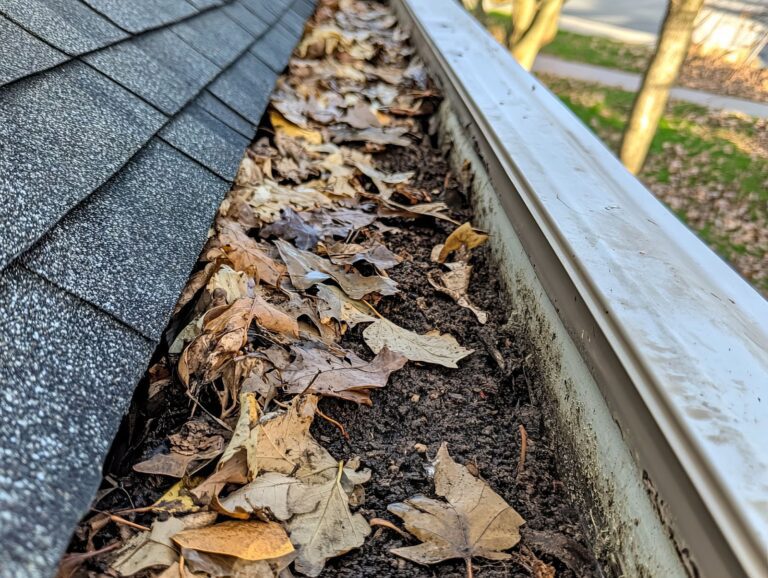
Before you begin the installation process, you must thoroughly clean the entire drainage system. Clearing out all the dirt and debris before you attach the covers will ensure that your gutters are not only clean for a seamless water flow but also secure and there is no animal infestation inside the gutter. Since there will be no debris, nest, and leaves the chances of blockage will be at the lowest.
To clean the system, the first step should be withdrawing as much debris you can. Then wash the entire system using a hose.
Step 2: Measure the guards/cover
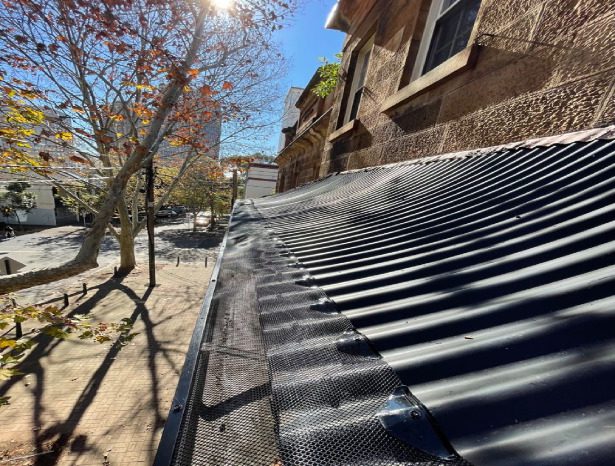
Once you’re doing the cleaning and have evacuated all the dirt, you can proceed to the next step which is measuring the mesh requirement. To ensure the correct amount of mesh required to cover the entire gutter, you should roll out the mesh gradually, starting from one edge of the gutter to the opposite end of the current side you are working on.
You’ve got the measurement, then cut off the excess roll. Do not cut it right on the mark, leave a little overlap at each end to secure the screen is properly fixed. Another thing you should keep in mind is confirming that the dept is sufficient to cover from the roof to your gutter pipe.
Whether you attach the mesh on the screw line or below, make sure to check if it is secured tightly to the roof.
Step 3: Fix the mesh trim in place
Before you fix the gutter screens permanently, you should always check if they are correctly trimmed by placing the cutouts in their spots. Once they are in a position fix them using the screws. Follow the same process for fixing all the pieces. When you reach the ends you can either trim the excess part or bend it into the shape and create a clean, secure, and closed-angle.
Stacks of yellow ceramic roofing tiles for covering residential building roof under construction.
Closeup of attic windows on house roof top covered with ceramic shingles. Tiled covering of building
Step 4: Cut the mesh to make it extra secured
Once you’re done placing and securing the mesh, then make two 40mm cut into the mesh under each saddle of every alternate corrugation. By doing this extra effort you can ensure the mesh contour is flawlessly in shape with your roof and also it will prevent the leaves from getting in underneath the mesh.
Step 5: Secure it by screwing the saddles
The final step is screwing the saddle onto the roof using screws. While screwing, put some pressure onto the saddle and drill to prevent it from slipping and moving out of its place.
Safety measures
While doing all these chores you should take some safety measures to prevent any kind of accidents.
- The roof and gutter system can be sharp, so always wear a set of robust gloves while doing the cleaning job.
- Avoid working in wet weather, because it can cause slipping.
- Confirm there is no heavy machine underneath your working area.
- Always check the wires and power lines to avoid an accident.
- Wear non-slip shoes.
- Use good ladders and ensure they are resting on flat surfaces.
If you’re for a few more gutter guard installation advice then we’re more than happy to help you out. Or if you’re looking for professional help in installing gutter guards in Sydney then call on 04020764180