Installing gutter brackets may seem like a difficult task, but with the right tools and a bit of know-how you can get the job done right. Gutter brackets are essential components of any gutter system, as they provide the necessary support to secure the gutter to the roof and ensure proper drainage. In this guide, we will walk you through the process step by step, detailing the tools you’ll need, the installation process, and how to maintain your gutter system properly.
What Tools Do I Need to Install Gutter Brackets?

Before you start the installation of your gutter brackets, it’s crucial to gather all the necessary tools. You’ll need a ladder to reach the roof safely, a drill to create holes for the screws, and a level to ensure your brackets are installed correctly. Additionally, having a measuring tape on hand will help you measure the distance between the brackets accurately, ensuring they are not too far apart. A hammer may be necessary if you’re using nails instead of screws, and a screwdriver will be essential for fastening the screws securely. If you are using metal brackets, having a rivet tool can also be beneficial.
Choosing the correct screws for your gutter bracket installation is vital to ensuring the longevity and stability of your gutter system. It’s recommended to use stainless steel screws, as they are resistant to rust and corrosion, which is particularly important when exposed to heavy rain and other weather conditions. The screws should be long enough to penetrate the fascia board securely but not so long that they protrude through the other side. Generally speaking, a screw length of around 5mm to 6mm is sufficient for most installations.
Safety should always be a priority when working on a roof. Ensure you have a sturdy ladder that is rated for your weight and can safely support you while you work. Wearing a safety harness secured to a stable structure can prevent accidents from falling. Additionally, using gloves will protect your hands from sharp edges and safety goggles can shield your eyes from debris while you drill. By preparing your safety equipment beforehand, you can focus on the installation process without worrying about potential hazards.
How to Install Gutter Brackets on the Roof?
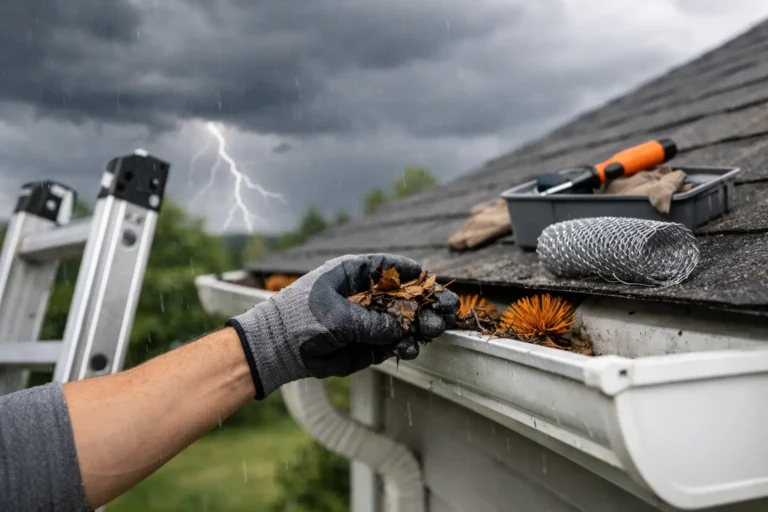
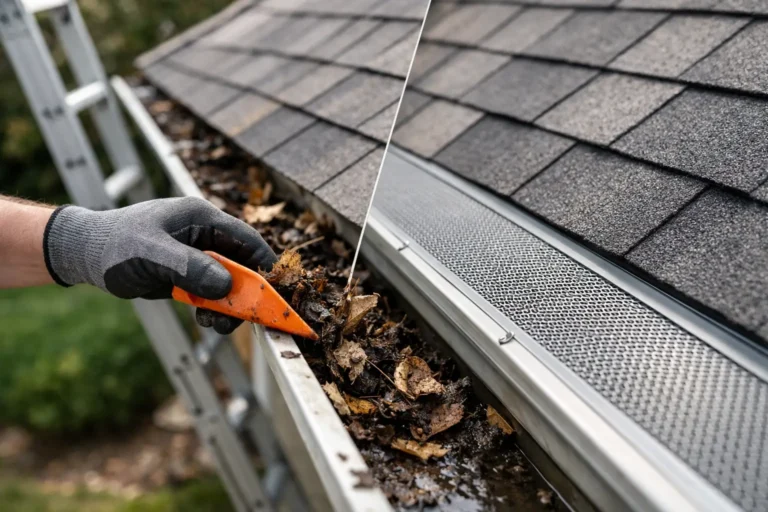
Before you begin the installation of your gutter brackets, prepare the roof properly. Start by clearing the area of any debris, such as leaves or branches, that might obstruct your work. Check the edge of the eave where the brackets will be installed for any excessive sag or damage. If you notice any loose sections in the fascia board, repair them prior to installation to ensure a stable support for the gutter brackets. This preparation step is crucial to preventing future issues with drainage and gutter failure.
To install gutter brackets correctly, you need to position them accurately along the eave. It’s generally recommended to place brackets at intervals of 24 to 36 inches apart, depending on the width and material of your gutters. Begin by measuring from one end of the roof to the other, marking the location of each bracket with a pencil. Ensure that the brackets are aligned with the bottom edge of the gutter, allowing for a proper flow of water towards the downspouts. This method helps in preventing sagging and bending over time.
Once you have positioned the gutter brackets, it’s time to secure them to the fascia board. Using a drill, create holes in the fascia where the brackets are marked. Next, attach each bracket by aligning it with the holes and fastening it with the screws or rivets you have chosen. It’s important to tighten the screws firmly, ensuring that the brackets are stable and can support the weight of the gutter, especially during heavy rain. Double-check each bracket to confirm they are all aligned and securely fastened before proceeding to the next step.
What Are the Steps to Install Gutter Brackets?

Now that you have prepared your roof and secured the brackets, let’s walk through the step-by-step process of installing the gutter brackets. Start by measuring the length of your gutters and cutting them to fit if necessary. Next, attach the gutter sections to the installed brackets, ensuring that the lip of the gutter fits snugly against the bracket. Use the provided screws to fasten the gutters to each bracket. Once all sections are attached, use a level to check that they are straight and adjust as necessary. This will help in ensuring proper water drainage.
After successfully installing the gutter brackets and gutters, you may want to consider adding gutter guards. Gutter guards help prevent debris from clogging the system and reduce the need for frequent cleaning. To attach gutter guards, simply lay them on top of the installed gutters, ensuring that they fit securely without any gaps. Depending on the type of guard you choose, you may need to use screws or clips to fasten them in place. Regularly checking and cleaning your gutter guards will help maintain the efficiency of your gutter system.
To ensure that your gutter brackets are positioned correctly, always measure twice before making any cuts or drilling holes. Additionally, it’s important to maintain a slight angle towards the downspouts to facilitate proper drainage. This angle prevents water from pooling in the gutters and helps in the efficient flow of water away from your home. Regularly inspect the brackets and gutters after severe weather conditions to ensure they remain securely fastened and free of debris.
How Do I Fix or Remove Gutter Brackets?
Over time, you may encounter issues with your installed gutter brackets. Common problems include loose brackets, sagging gutters, or misalignment. If you notice that your gutters are not draining properly or are pulling away from the fascia board, it may be time to inspect the brackets. Look for any rust or damage on the screws and brackets, as these can compromise the integrity of your gutter system. Regular maintenance checks will help you catch these issues early and prevent costly repairs.
If you need to remove gutter brackets, it’s essential to do so carefully to avoid damaging your roof or gutters. Start by unscrewing the brackets from the fascia board using a drill or screwdriver. If the screws are rusted or difficult to remove, you may need to use a rust remover or lubricant to loosen them. Once the brackets are detached, gently pull the gutters away from the brackets. It’s advisable to have a helper during this process to manage the weight of the gutters and prevent accidents.
Fixing loose gutter brackets is a straightforward process. Begin by identifying the loose brackets and tightening any screws with a drill or screwdriver. If you find that the screws are stripped or unable to hold, you may need to replace them with longer or thicker screws. Additionally, if the fascia board is damaged, consider adding a backing board for extra support. This will help distribute the weight of the gutters and reduce the chance of sagging or bending in the future.
Need Help with Gutter Bracket Installation?

While many homeowners can install gutter brackets themselves, there are situations where hiring a professional may be necessary. If you’re dealing with a multi-story building, complex roof designs, or if you’re simply uncomfortable working at heights, it’s wise to consult a gutter installation professional. They have the expertise and equipment to ensure that your gutter system is installed correctly, preventing future issues and ensuring optimal drainage. Contact DX Gutter Guard to professionally install gutter brackets on your roof. They also install all types of gutter guards and offer gutter cleaning services.
Conclusion
Installing gutter brackets is a straightforward task that you can do yourself with the right tools and steps. By following this DIY guide, you can ensure your gutters are securely attached and functioning well. Remember to measure carefully and choose the right materials for your home. With a little time and effort, you can improve your home’s drainage system and protect it from water damage.value for their investment.